
The lay of the land.
It was over ten years ago that we found and purchased the land for our house. What happened? Life happened. The combination of starting a business, a slowly rebounding economy, a bunch of unexpected family adventures and a multitude of other diversions all added up. After years of “We’re working on it” and “We’re still saving up”, it felt like most of our family and friends thought our dream to build would never materialize. But, that lost decade did not go to waste. We spent those years getting to know our patch of land, the lake, the local area and thoughtfully considering what this house could and should be.

This image of our land survey illustrates some key characteristics of our site that were critical to the placement and design of a home.
Early on, before we finalized our purchase of the land, we had a professional surveyor come out and document the property. Not only did the survey confirm important things like boundaries, setbacks, access, and whether or not the soil was suitable for a septic system, it also detailed the elevation changes and contours of the site and cataloged many of its sizable oaks and red pines.
Shown below are some visualizations of the site. Using our limited CAD skills, we were able to plug in elevation data from the site survey to plot and model the site as it flows from the south access road down the hill to the lake.
Site model created early on showing site contours and slope down to the lake.

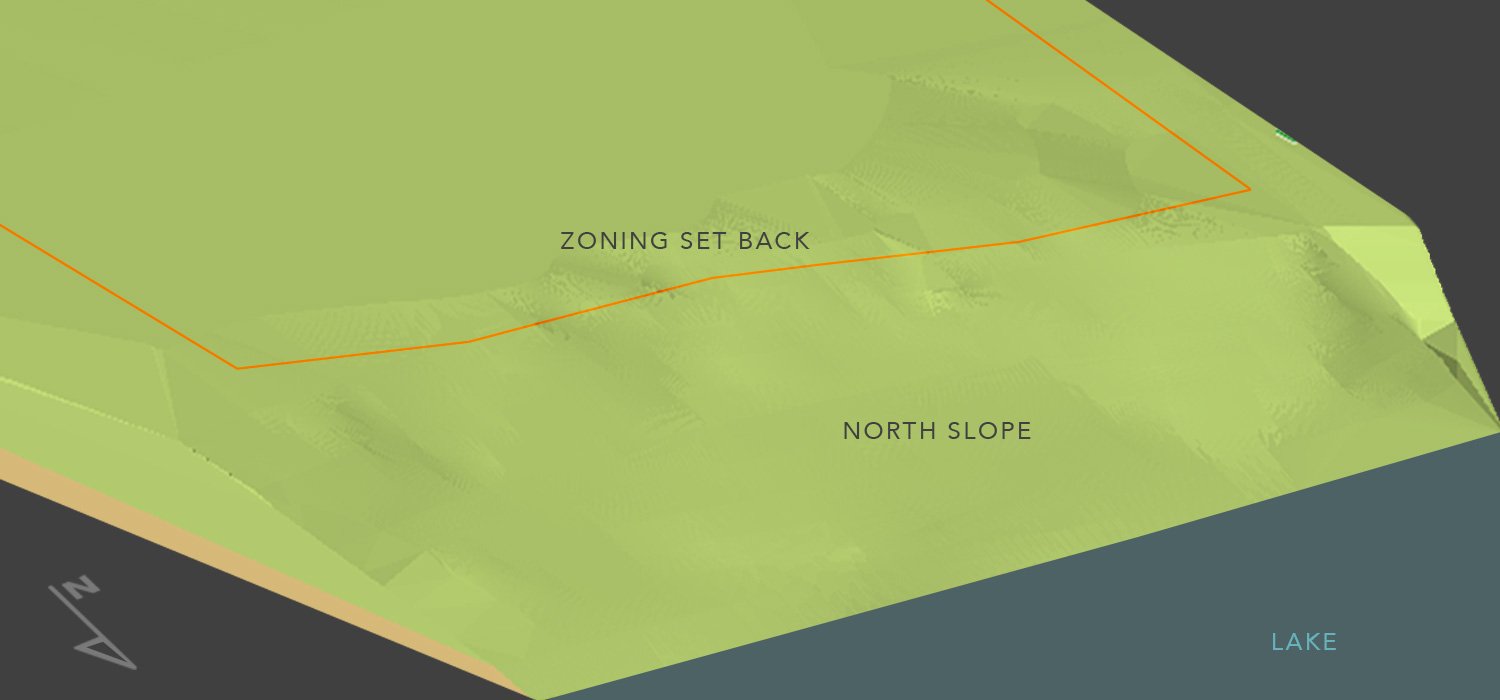
Profile of the north hillside with set backs generated from site survey data.
Beyond camping, walking the site or floating on the lake, these visualizations were a big help to us and our process of better understanding the character of our site. Going forward, whether talking about possible locations for a house, plan types or landscaping ideas, we often referred back to these plans and images.